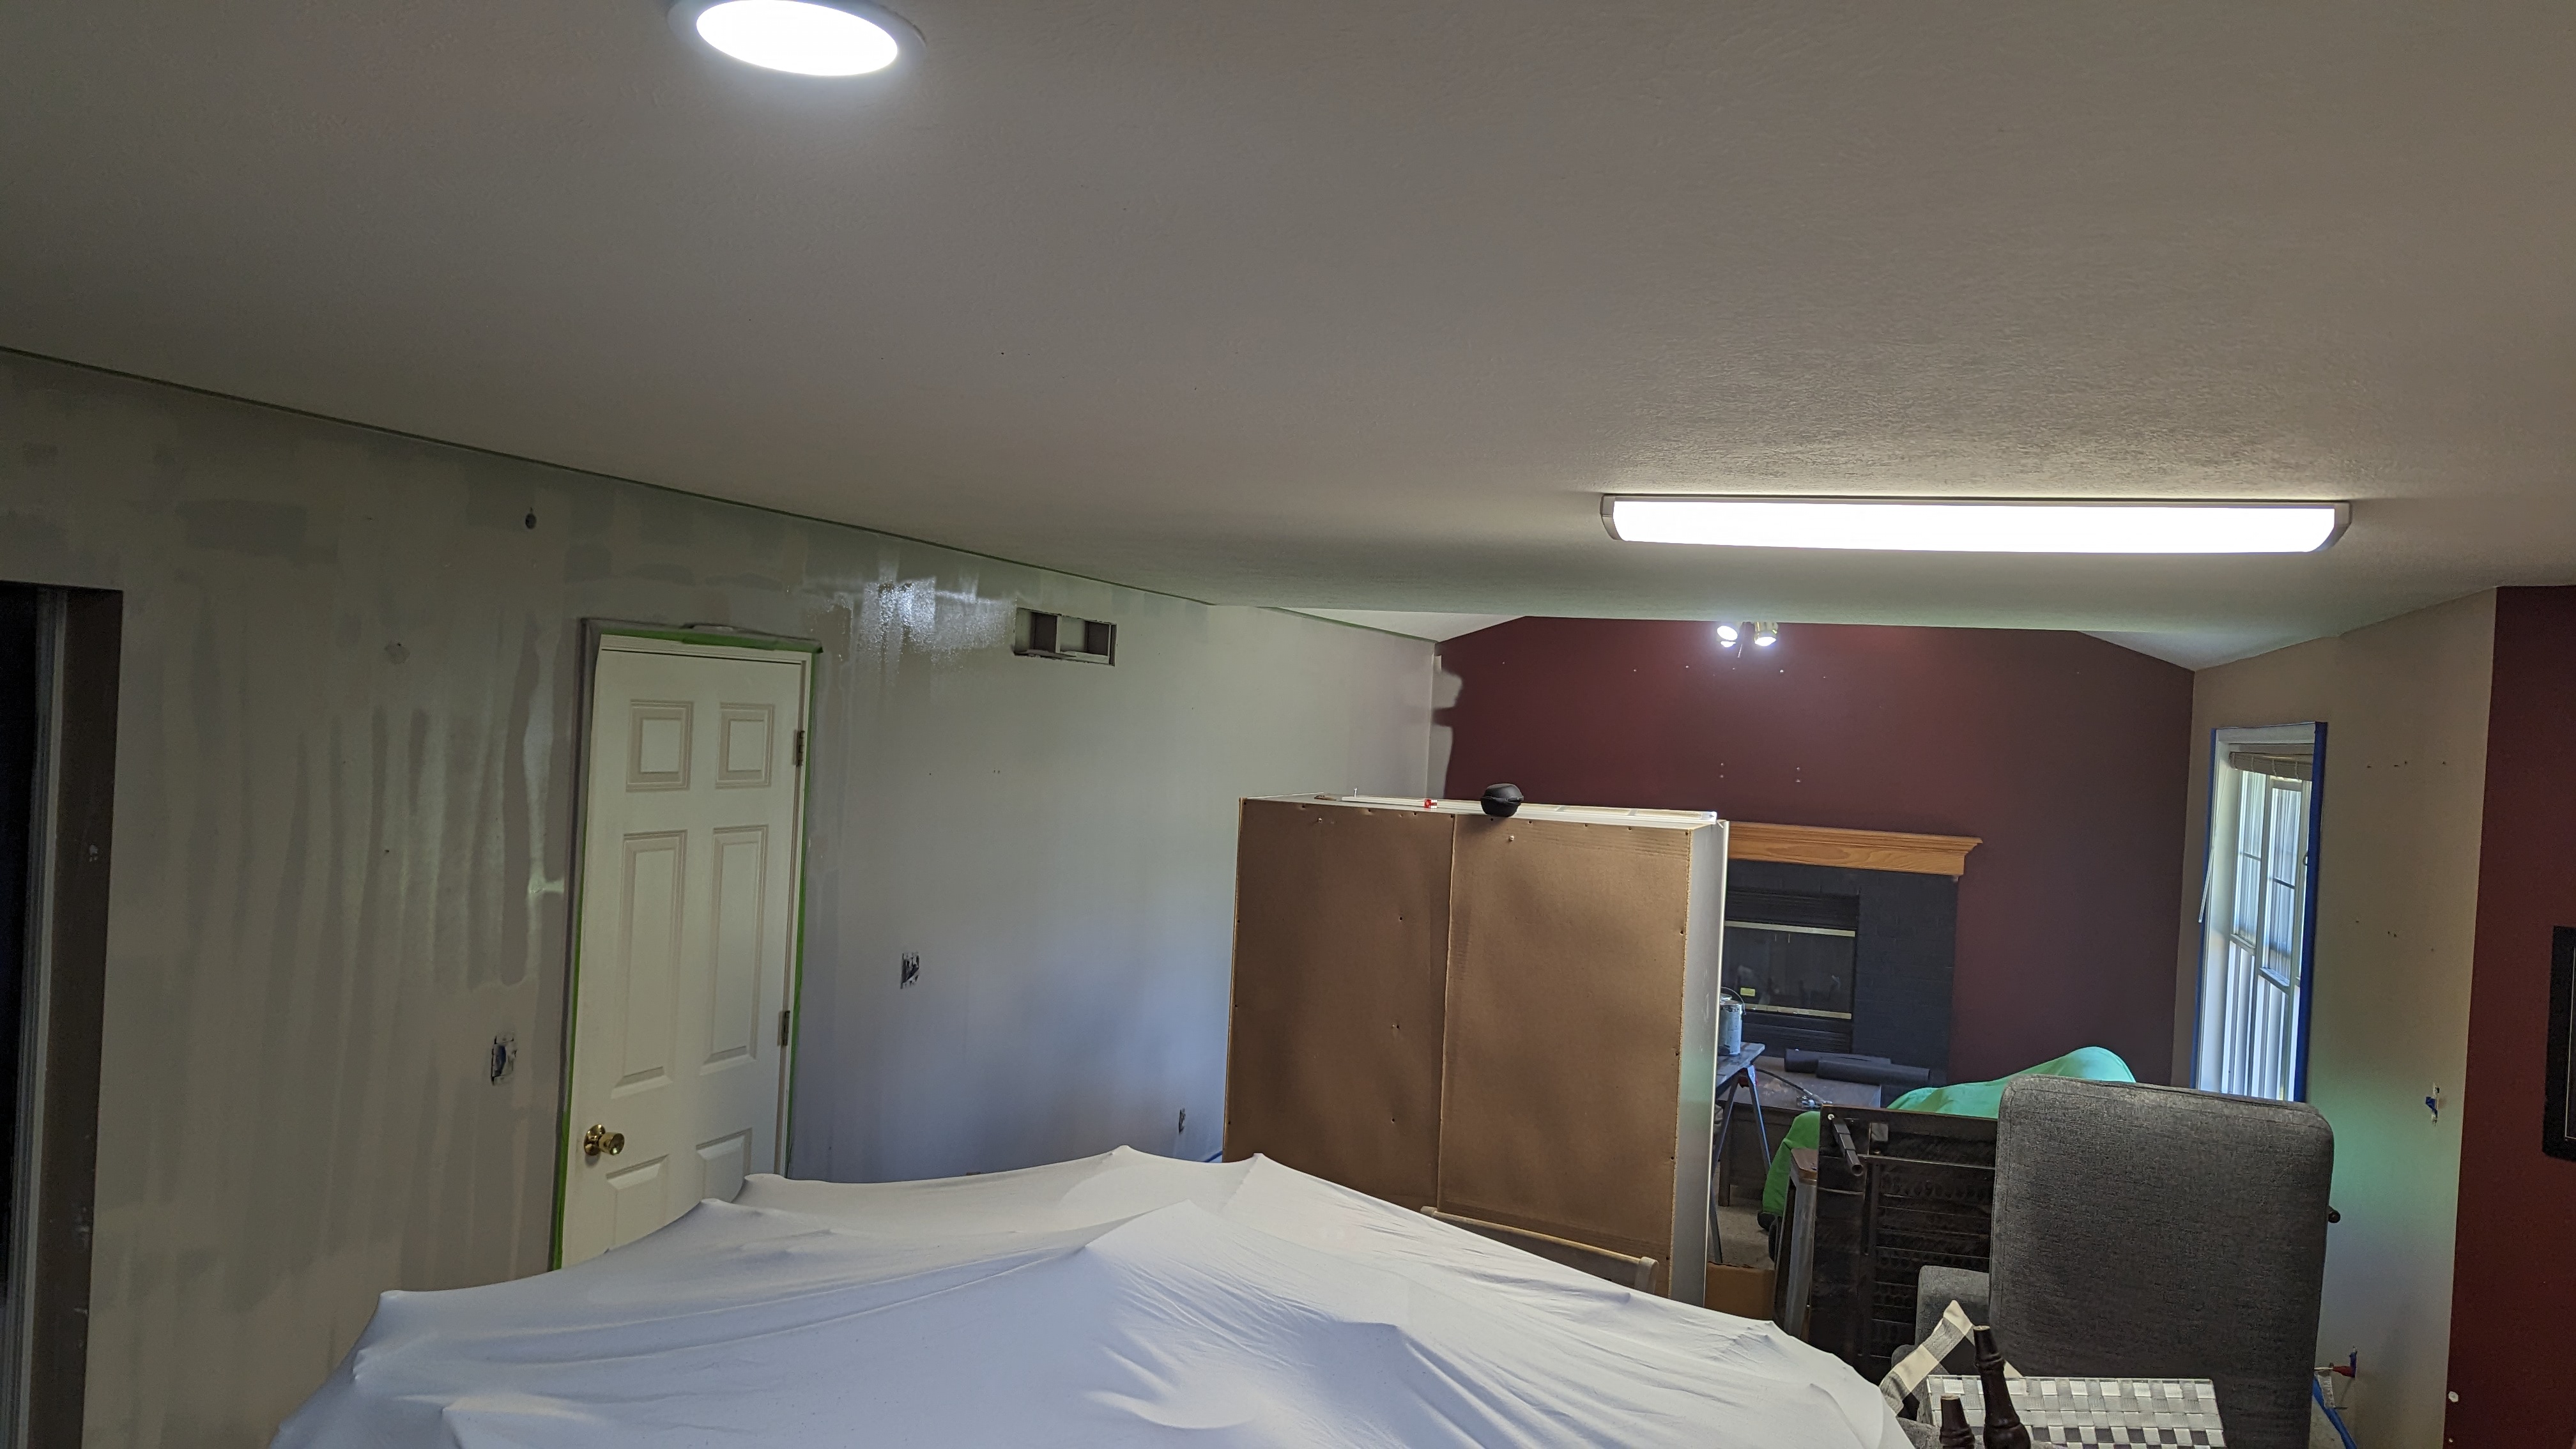
I had good intentions when I said I wanted to replace just the carpet. However, if you look at the path to replace the flooring, it continues with the floors. We should paint so we are not ruining the new flooring as it goes down. Plus, I am being honest; the maroon and tan that our home has EVERYWHERE is incredibly triggering to me (that's a trauma issue). It's time for the paint colors to go!
Now that we have the floors and walls covered, have I mentioned how outdated our furniture is? This being our first home, it looked like six different apartments crammed together, with an assortment of storage and decor.
Waylon had already sprayed our brick fireplace black to test the new paint sprayer before using it on the front of our house. We love the way the black looks on the brick. Now it was time to cover up the maroon and tan. Waylon decided he could spray the walls. It went quickly but filled our home with paint fumes, leaving my lungs in distress.
I always balance my medical symptoms with my stubbornness to get things done. However, breathing is a deal breaker.
I stopped him from spraying, and we rolled the remaining wall. The intense release of emotion I felt covering up the maroon and tan was terrific! I will put the paint colors below if you are curious.

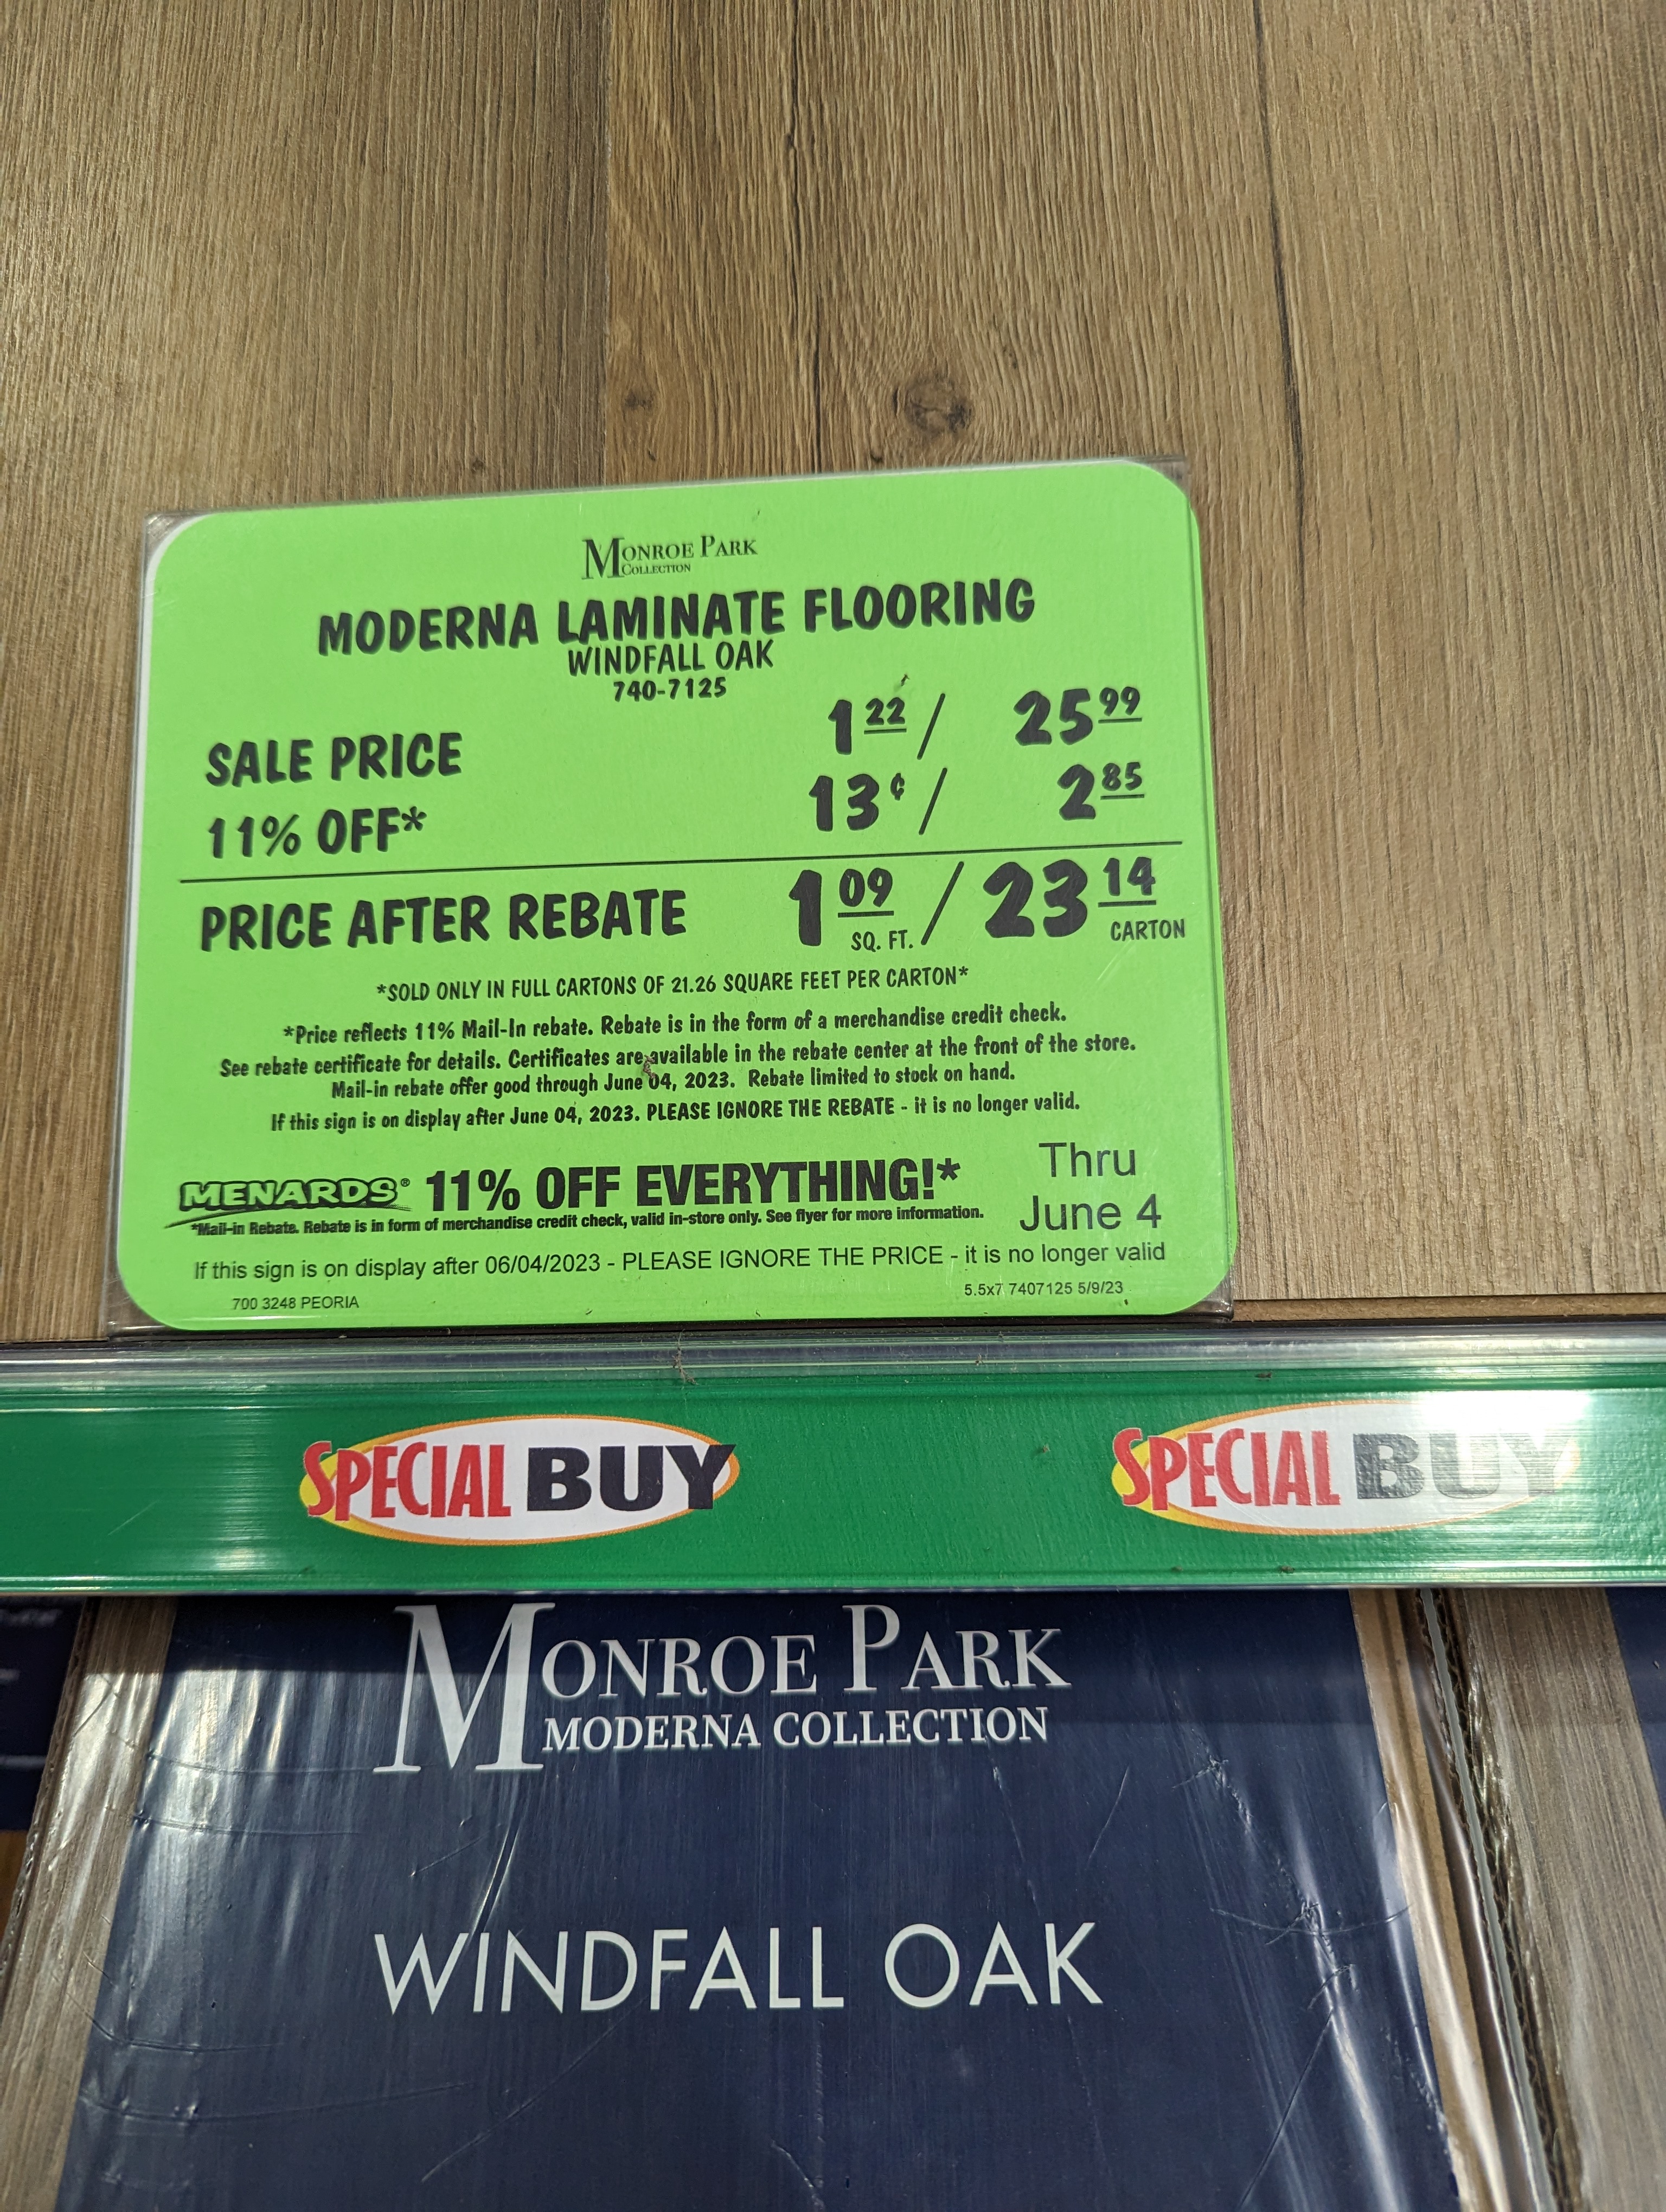
SO... Off to Menards I went. I was trying to purchase the cheapest flooring to fix this carpet so our animals stopped shredding it and marking their territories.
I purchased this cheap flooring that was on sale. It would get the living room done in under $400; that way, when we want to eventually put the money towards the flooring, we can upgrade. I loaded the flooring and got it home.

There, a solution was made. Until I had Waylon unload all the boxes into our living room, I started trying to lay down this "flooring." I am convinced it is just fancy cardboard at this point. The planks were made from MDF and shredded as the boards went together. It looked horrible on our floor, and we only put one box down. This was not a good sign. We quickly realized why quality is so much more important than quantity. Back to the drawing boards we went. Or, in my case, back to Pinterest and YouTube.
Lesson 1:
Do not be a cheap scape and figure out your desired final look. Buy quality products to start with.
We took a step back; I watched many YouTube videos, automatically making me a professional in my tackling. I learned about the various types of floors and what underlayment is. I researched the three big box stores in our area and realized that HomeDepot was the place I was going with to get the LifeProof Flooring. I like how it looks, and its features of being suitable for pets and kids and somewhat waterproof were lyrics to my ears. The cost got me, though. Whew...not what I wanted to spend, but I am thankful we did it. In the long run, this will make our home beautiful, eliminate the mismatched tile, and bring the cabinets only slightly off-color.
I have future building plans for the cabinets, and worrying about painting them now is not worth the effort. We can survive with the lower cabinets for a little longer. The backsplash was a completely different story. Brown backsplash with modern blue-white countertops, um...I think not.
When we moved in, our upper cabinets were covered in a quarter inch of solid grease, pet hair, and food particles. Goodbye, upper cabinets, and hello, open shelves for now.
On the record, I had already purchased ball jars and clear containers for dry goods. Making the decision to put open shelving easier. Looking back, I need to raise them a bit, change the layout to put in an oven hood later and eliminate the random junk covering every inch. I wanted the clean and organized look, not let's be monkeys and throw our shit, hoping it stays in place.
The timeline I assumed this would take is a couple of weekends. Truthfully it took a good 6 months, and that isn't counting the holiday session; we stopped working on the kitchen, and in its place was decorated for Santa. What more could you expect of holiday cheer.
Now our living room and kitchen are done until I decide something else needs to be changed, and I am the woman for the job. Nothing is ever permanent in my mind.
Tool List
Safety Glasses, Carpet Tack Puller, Box Cutter with spare Blades, Trim Crowbar, Regular Crowbar, Vynl Cutter, Red Seam Tape, Safety Gloves, Hearing Protection, Shop Vac with special attachments, Rubber Mallet, and Vynl Floor Accessory Kit.
Products We Used
Life Proof Flooring (Oak Trail), Underlayment, Trim Pieces, Red Underlayment Tape, stick-on backsplash, Construction Adhesive, and Caulk for counter and around the Floor.
Paint Colors Used
FirePlace Brick: FirePLace Wall: Light Grey: